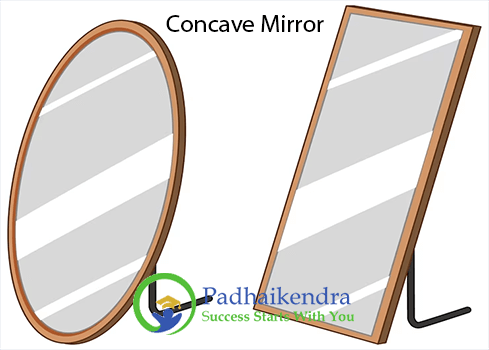
Ray diagrams by Concave Mirror
Ray diagrams are useful tools for understanding image formation by a concave mirror. Here are the steps for drawing a ray diagram:
 Draw the principal axis: This is the horizontal line passing through the center of curvature (C) and the focal point (F) of the mirror.
- Draw the object: The object is placed above the principal axis and its height is represented by an arrow pointing downwards.
- Draw two rays: Draw two rays starting from the tip of the object.
- Ray 1: Draw a ray parallel to the principal axis. After reflecting from the mirror, it passes through the focal point (F) on the principal axis.
- Ray 2: Draw a ray passing through the focal point (F) on the principal axis. After reflecting from the mirror, it becomes parallel to the principal axis.
- Locate the image: The point where the two reflected rays intersect is the location of the image. Draw an arrow pointing upwards to represent the image.
The type of image formed depends on the position of the object relative to the mirror:
- If the object is located beyond the center of curvature (C) of the mirror, a real inverted image is formed between C and F.
- If the object is located at the center of curvature (C), a real inverted image is formed at C.
- If the object is located between the center of curvature (C) and the focal point (F), a virtual upright image is formed behind the mirror.
- If the object is located at the focal point (F), no image is formed.
It is important to note that the height and orientation of the image depend on the position of the object and the focal length of the mirror. A concave mirror can form real or virtual, inverted or upright, and magnified or diminished images depending on the position of the object.


 Draw the principal axis: This is the horizontal line passing through the center of curvature (C) and the focal point (F) of the mirror.


